We All Scream for Silk Screen!

This March, a small group of 4-H-ers participated in a cozy and engaging “Introduction to Silk Screen Printing” class.  Over the course of two classes and one extended excursion to two professional screen printing facilities, we explored the many different styles and techniques of this intricate art. 

The silk screening printing technique uses mesh to transfer ink onto a material. Stencils are used to strategically block the transfer of ink to create desired patterns on the material. We learned the basics by using 9 square inch fabrics and papers to make small designs. Next, we moved to printing designs on larger objects, like drawstring bags. Soon, cats, pears, and stars decorated satchels and postcards in black, red, and blue. It didn’t get too messy and everyone had fun. 

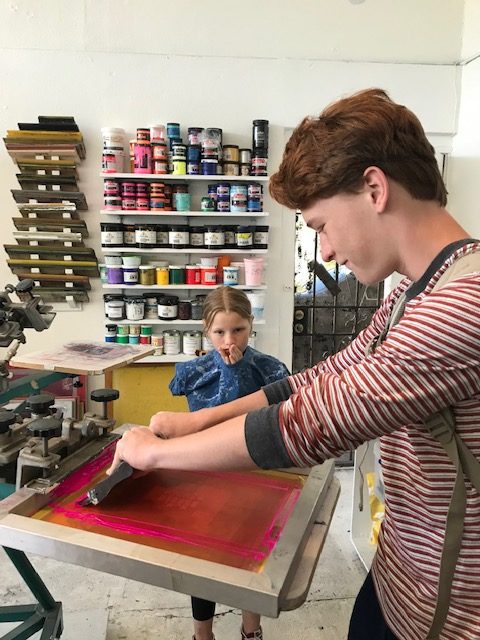
During the last class, we traveled to The Grease Diner, a screen printing studio in Oakland. We observed a professional design being light printed by a large, bulky machine that uses UV light to transfer ink to paper. After a quick lunch at a nearby park, we travelled to All Gold Print. There, the group created a design that we got to print by hand. Each person took a turn at flooding the screen with ink and pressing it onto the paper. This project was very informative. Creating the art was as relaxing as eating ice cream on a summer day.  
About the Author

Our monthly club meetings

One Monday, every month, our club gathers at Escuela Bilingue Internacional in the main gallery to have an hour-or-so meeting. This is mainly to catch up with everyone, see how the projects are going, and give presentations to the club members about local (mostly Alameda County) events that will or already did happen. These include Presentation Day, Small Animal Field Day, the Mini Maker Faire and more. Project members present about what they covered in previous project meetings.  Project leaders talk about projects that they will be leading in the next semester. Every once in a while, we will have a guest speaker (a “Cool person”) come from outside 4-H to talk about an interesting topic. The meetings also include times for parents and middle-schoolers to branch off and discuss things while K-5th graders do a fun activity or game.

The president, vice president, secretary, treasurer and youth facilitators run these meetings. They make transitions between speakers, open and close meetings, take minutes, present the club’s status money-wise, and switch PowerPoint slides depending on their jobs. Before each club meeting, the officers gather to talk about the meeting agenda so everything will be organized and run smoothly. Every year or so, the club votes for new officers. Those who wish to run give a speech at a meeting to tell everyone why they want to be an officer. The officers are ages 11+. The officers are kids because it helps give members an idea of what leadership is, and what kinds of responsibilities are needed to run 4-H.

About the author 

Presentation Day (Statewide)

Presentation Day is a 4-H statewide event that helps people improve and become comfortable with presenting and talking about projects in front of audiences. At Presentation Day, people have a wide selection of categories and projects to choose from. For example, if a person wanted to talk about how skills used in camping are useful in climbing a mountain, they would sign up to present under the category “Informative Speech.” If a person wanted to explain why a certain piece of writing is considered influential to modern culture, they would sign up under the category “Interpretative Reading.” Even if one does not want to present on anything, Presentation Day has many other fun activities, and all presentations are open to the public. Presentation Day does not only offer an opportunity to practice public speaking skills, but it also promises a fun and educational 4-H experience!

If you are interested in this opportunity, the first step is to participate in Alameda County’s Presentation Day.  To find out more information, check out this website.

About the Author

The 4-H Weaving Project

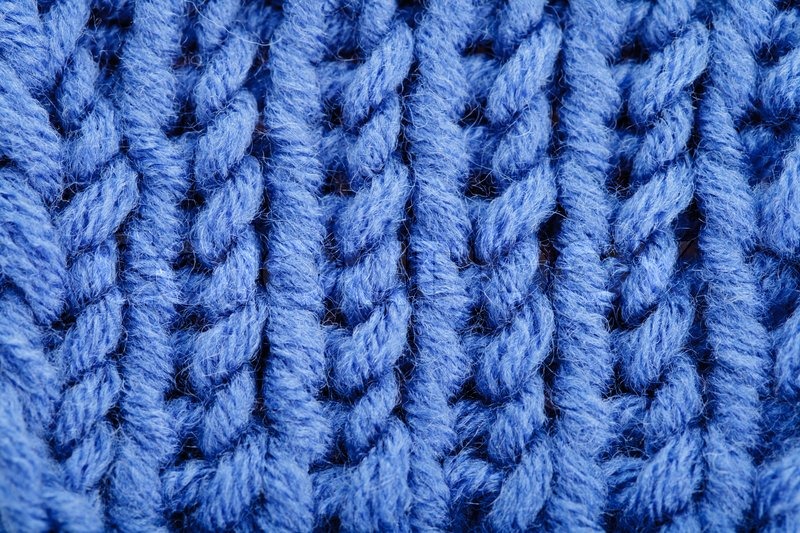
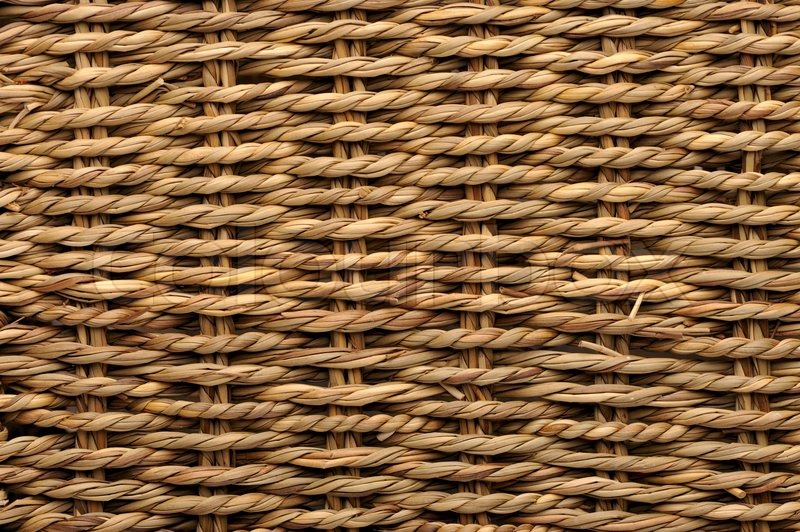
The first meeting of the 4-H weaving project was very interesting. The class began with the teacher, showing different samples of woven and knitted items and pointing out the differences – woven items are interlaced whereas knit items are interlooped.

Image result for knit closeupImage result for woven closeup

This one is knit…                                                                        And this one is woven.

After the introduction, the new members were set up on a loom for a hands-on learning experience. The new students played around with different patterns (like twill, plainweave and basket weave), while the more experienced weavers  chose the colors for their scarves. One weaver chose the colors gray, black, white, and blue. Another weaver chose a multicolored design on a white background. By the end of the class, each and every weaver will have a beautifully handcrafted piece of fabric for display or practical use. Over the course of the project’s three meetings, emerging weavers will hone their manual dexterity, eye-hand coordination, and communication skills while being creative and learning every step of a process that may have contributed more to civilization than fire or the wheel (yes, that was overly dramatic). But seriously, weaving is an ancient art and a way to exercise your brain while actually doing something productive and learning a real skill, not just how to fill in a Sudoku. For more information on the weaving project, go here.

About the author

Weaving class number 1

The first weaving class was very interesting. When we first arrived, we watched a slideshow about the different types of textiles, the difference between knits and wovens, and the different weaving techniques. After watching the slideshow, the new weavers went over to their looms and tried out some simple patterns, while the more advanced weavers set up their looms and choose a pattern for their piece. Some of the weaving patterns used were: plain weave, twill (they use it to make pants), and basket weave.

After the class was over, the advanced weavers got to take their looms home to work on the project during the weeks following the meeting. Weaving is a very fun project, and it is nice to be able take the looms home. The project is also very interesting because we learn how clothes were made before the industrial revolution.

about the author

Beginners Arduino Circuitry Coding Class!

Contrary to its sound, Arduino is not a fancy pasta, but an open-source (available to review, edit, and share) electronic prototyping platform. It enables users to create interactive electronic objects based on easy to use software and hardware. The Arduino language was originally developed for students who did not have a background in programming or electronics. Arduino boards read Arduino language inputs such as a finger touching a button and translate them into outputs, such as a motor turn or a light lighting. Due to its accessibility, Arduino has been used in a broad range of applications from hobby arts and crafts to professional industrial designs.

In mid-Spring, 2018, students learned the basics of Arduino programming with a variety of tools; from computer based coding, to physical Arduino Uno boards. Over the course of five classes, students were taught simple coding commands to enter into Arduino programs that enabled changes in objects such as: flickering lights, sound emissions, and even the moving of a robotic arm. One of the projects was a light theremin – an instrument that makes a sound, the pitch of which changes based on varying light levels falling on a sensor.The more light exposed to the photoresistor, the higher pitched the sound produced. Light exposure was controlled by blocking the sensor with our hands. Many spooky movies use light theremins to create mysterious alien sounds, but ours was more similar to that of an incessant fly.

Arduino projects were demonstrated at the monthly Club meeting. The 4-H values that we practiced included: teamwork (Heart), tinkering with wires and the Arduino board (Hands), and coding the programs (Head). We had fun learning about this cool tool!

About the Author

Plant Power-Smart Design

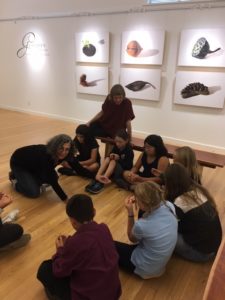
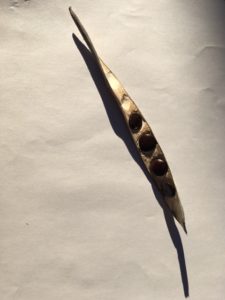
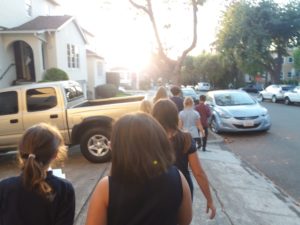
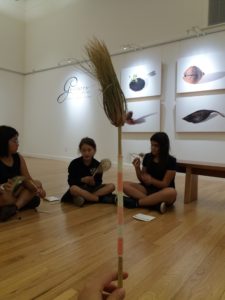
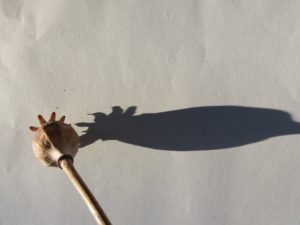
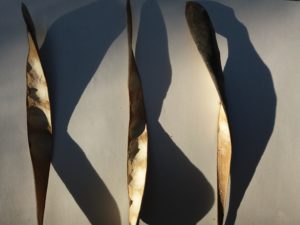
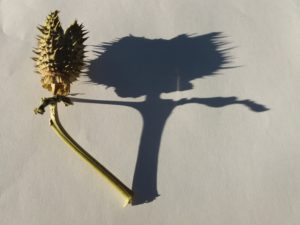
On Thursday October 11th, the Plant Power project had their first session at Doug Adams Gallery in Berkeley. They viewed a gallery on seed pods and their shadows. Hagit Cohen, the photographer behind this gallery came and talked to the project members. One of the project leaders brought in some dried seed pods and to recreate what Hagit did, they took photos of those seed pods in the sun. They also went on a small nature walk around the block to look at plants and seed pods we can find on the streets. Afterwards, they wrapped string around dry papyrus stems while making wishes. This session went really well. The kids went home happy and excited for the next session.

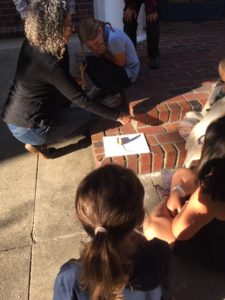
Below are some photos. The one on the left is of Hagit showing the kids some of her dried seed pods. The one in the middle is of Hagit demonstrating how the sun casts a shadow on the plant. The photo on the right is a photo that one of the kids took of a seed pod and its shadow.

About the author

Plant Power-Smart Design

On Thursday October 11th I did my second program in 4-H, the Plant Power Smart Design. A group of 8 boys and girls met at the Doug Adam’s Gallery in Berkeley, where we started and finished our time together.

First of all we had a small snack (health first!), and while we were eating we all had the opportunity to meet the awesome photographer that introduced herself and the gallery. The 2 adults of the 4-H program also talked us about the activities we would do during the 3 hours program. We moved on and we went to the Gallery. We saw some amazing pictures of different small things we could find in the nature. There were some, such as plants, that we knew what they were; however, we also saw some others that we had never seen before. We asked some questions to the artist and she answered always in a smart and interesting way.

When we had finished in the gallery, we started the next activity, personally the best one. We all followed the artist outdoors, where she sat down with a nature object and a piece of paper in her hands. She putted the paper in the floor and she started moving the object in different ways over this one, so that we could see the amazing shades it could form. We were all amazed because we had never payed attention to those little things. When she had told us how to do it, we all got some nature things of a full box and we did the same. But this wasn’t all! We also had to take pictures of the best shades we could form (use our hands but in a smart way, with head!) and share them with our partners (our heart also had to work) ;).

We then all joined again and spread into two groups. Our mission was to walk around the neighborhood and find and sketch plants and other interesting objects we found. Most of us almost didn’t have space left in the little paper books we had made just before going out! When we returned, it was almost time to leave and we did one last activity. In this one, each of us had to take a papyrus plant and some threads. One of the 4-H adults taught us how to decorate it and she told us that every round we did, we had to make a wish.

Just before leaving we shared our opinions and conclusions of the day; in only 3 hours we had learned many skills. When we shared our opinions, we all agreed that the best conclusion of the day was to ‘PAY ATTENTION, LITTLE THINGS CAN BE BIG’.

Finally, we all helped to clean up and we left with our papyrus and sketches to remember the day. But hold on: there’s two more sessions!

-WEN-


2 whole months of chickens

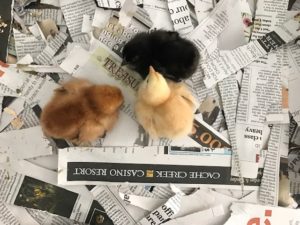
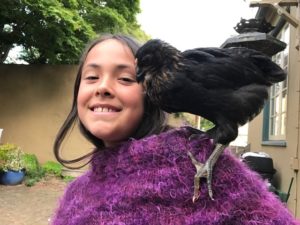
In May, 2017, Emeryville 4-H had a chicken project where everyone who had signed up for the chickens  project took chickens home to take care of them for two months. We had to create the place where the chickens would be out of a plastic bin and get our homes ready for the new born chicks. Then we went to a chicken store and picked our chickens. Me and my brother picked out a buff orpington (chirp) a black sex link (fig) and a road island red (goldpuff). While we took care of them, we played with them, cared for them and got pooped on – a lot. When it was time to let them go, we drove to Petaluma to SoMar Farms whose owners’ kids used to go to Escuela Bilingüe Internacional (the school the 4-H meetings are held) and had a tour of the farm and said goodbye to our chickens. Overall, this was a project that really gave me a taste of true responsibility, not eat any more chicken, and come closer to my brother (as we both helped take care of the chickens).


4-H chicks

In this project, we began by learning all about chicks. We were shown a PowerPoint presentation or a Google Slide that was filled with information about different breeds of chicks, handling chicks, feeding them, chick diseases and more. By the end of the presentation, we were mini-experts. Now, the main point of this project was to foster chicks for about 8 weeks (2 months) for the EBI chicken coop, which was still in progress. Each participant would be caring for 3-4 chicks by the end of the project. The family that raised the most friendly and social chicks would get to send theirs to the EBI chicken coop, and the rest of them would go to a family-owned farm in Petaluma (Somar Farms). A couple of families would even be keeping their chicks and watch them grow into full-grown hens. (There would be no roosters.) So we needed to know how to care for chicks and what materials would be required to do so.

After that, there were many steps to complete this project. First, a few families went to Home Depot to retrieve bins and chicken wire for the building of their habitats. A bit later, the families rendezvoused to build the habitats. We used screwdrivers and rulers to measure the chicken wire and cut holes in the big plastic bins to put the chicken wire on top. Then, we added small sticks that stretched across the width of the bin so the chicks could practice perching. After building what would soon be their homes for 8 weeks, we brought the bins home.

Then, the day we had all been waiting for finally came, near the end of March. This was the day that we would meet our chicks. We all gathered at BioFuel Oasis and got oriented, and then each child participant chose their chicks according to the breeds that their caretakers had chosen. We brought home our chicks and filled the bottoms of their bins with newspaper so they could be cared for for the next 2 months. After that process was over, the chicks that would be permanently living at EBI were chosen, and everyone went to Petaluma to see the farm, and the families that were leaving their chicks there brought them over. That pretty much summarizes the 2017 chick project.

About the author

Old Navy Outreach Event

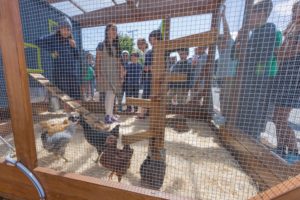
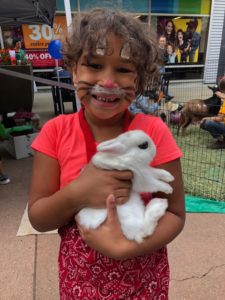
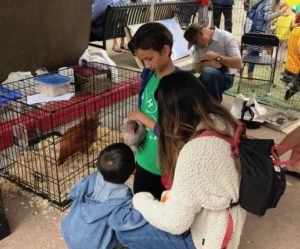
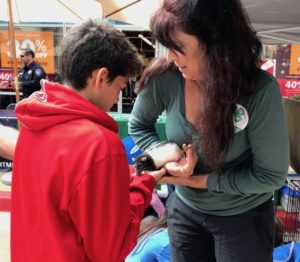
This year, our club was invited to participate in Old Navy’s annual Kid Safety Event. We arrived at Bay Street in Emeryville with rats, chickens, rabbits, goats, and the intent to spread the word about 4-H to families attending the event.

Down the closed-off street from us there were all sorts of safety-related activities that kids of all ages could partake in – including exploring the inside of an ambulance and a fire truck. Interested festival-goers could even learn about the Emeryville police department from an actual detective on the force. Face-painted kids were drawn into our booth to feed the chickens and enter the goat pen. This event proved to be a great outreach opportunity for our club as their families followed suit. We told them all about what 4-H has to offer in youth development and invited them to come check us out at the next meeting. We handed out flyers about our club and pocket first-aid kits that displayed the 4-H logo.

About the Author

Vanilla the Rabbit

Meeting the Bantam Hen

There’s a Rat on Me!

Photos courtesy of Emeryville 4-H